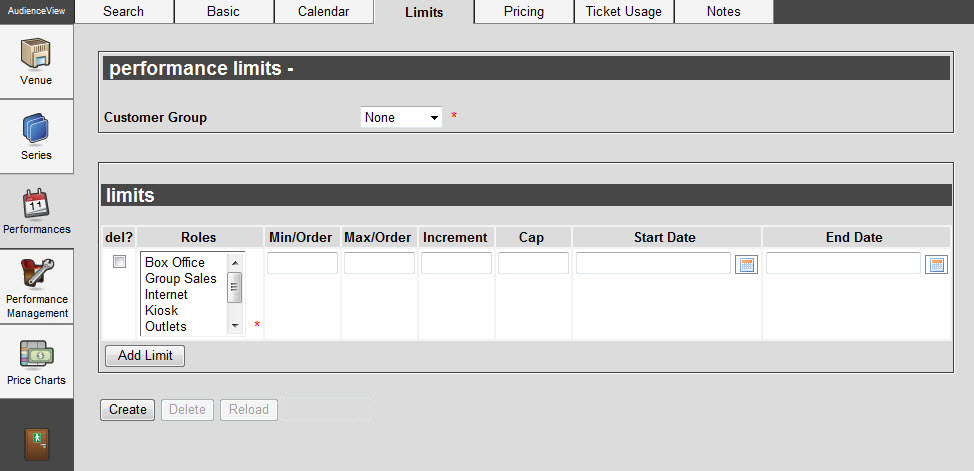
The following image illustrates the Venue Configuration application Performances|Limits page:

The Performances|Limits page contains the following properties:
| Field |
Description |
| Customer Group |
Determines what the limits will be applied to:
- Customer: The customer group limit will be applied per customer account.
- None: No admission counting will be performed.
 | Hint
Customer must be selected when setting a 'Cap' limit. The system will allow you to create a 'Cap' limit if None is selected, but the limit will not be effective. |
|
| Roles |
The role(s) that apply to the limit.
To select more than one role, hold CTRL or SHIFT while making your selections.
 | Hint
If limits are set against a particular role, all roles will be required to add a customer to their orders so that the purchases can be tracked and then the limits can enforced when appropriate. |
|
| Min/Order |
The minimum number of admissions that can be purchased per order for this performance. If a value is not entered, no minimum per order restriction is applied. |
| Max/Order |
The maximum number of admissions that can be purchased per order for this performance. If a value is not entered, no maximum per order restriction is applied. |
| Increment |
The incremental number of admissions that can be purchased per order for this performance (e.g. if this is set to 2 then customers can purchase 2, 4, 6 admissions and so on). If a value is not entered, no incremental restriction is applied. |
| Cap |
This is the maximum number of admissions that can be purchased for the selected 'Customer Group' option. If a value is not entered, no 'Cap' limit is applied.
 | Hint
Do not enter a limit if you do not require one. Setting the 'Cap' to an arbitrary number, such as 99, could affect the application's performance. |
|
| Start Date |
The date and time the limit will take effect.
Enter a date into the field or click  to select a date. to select a date.
For more information, refer to Using a Calendar to Add a Date. |
| End Date |
The date and time the limit is no longer in effect.
Enter a date into the field or click  to select a date. to select a date.
For more information, refer to Using a Calendar to Add a Date. |